A practical, vet-tech-informed game plan for flea and tick control: consistent preventives, safer home tactics, yard management, and what to do if you spot a...
If you have ever found yourself frantically searching for gauze at 11 p.m. while your dog is bleeding from a broken nail, you already understand why a pet first aid kit is worth its weight in treats. The goal is not to replace your veterinarian. It is to buy you time, reduce pain, and keep a scary moment from turning into a crisis.
I built my first kit back when I was a veterinary technician, and I still tweak it every year based on what actually gets used at home.
Quick note: This guide is for preparedness and basic first aid, not veterinary advice. When you are unsure, call your veterinarian or an animal poison hotline.
Let’s build yours in a way that fits your pets, your lifestyle, and the kinds of emergencies most likely to happen where you live.
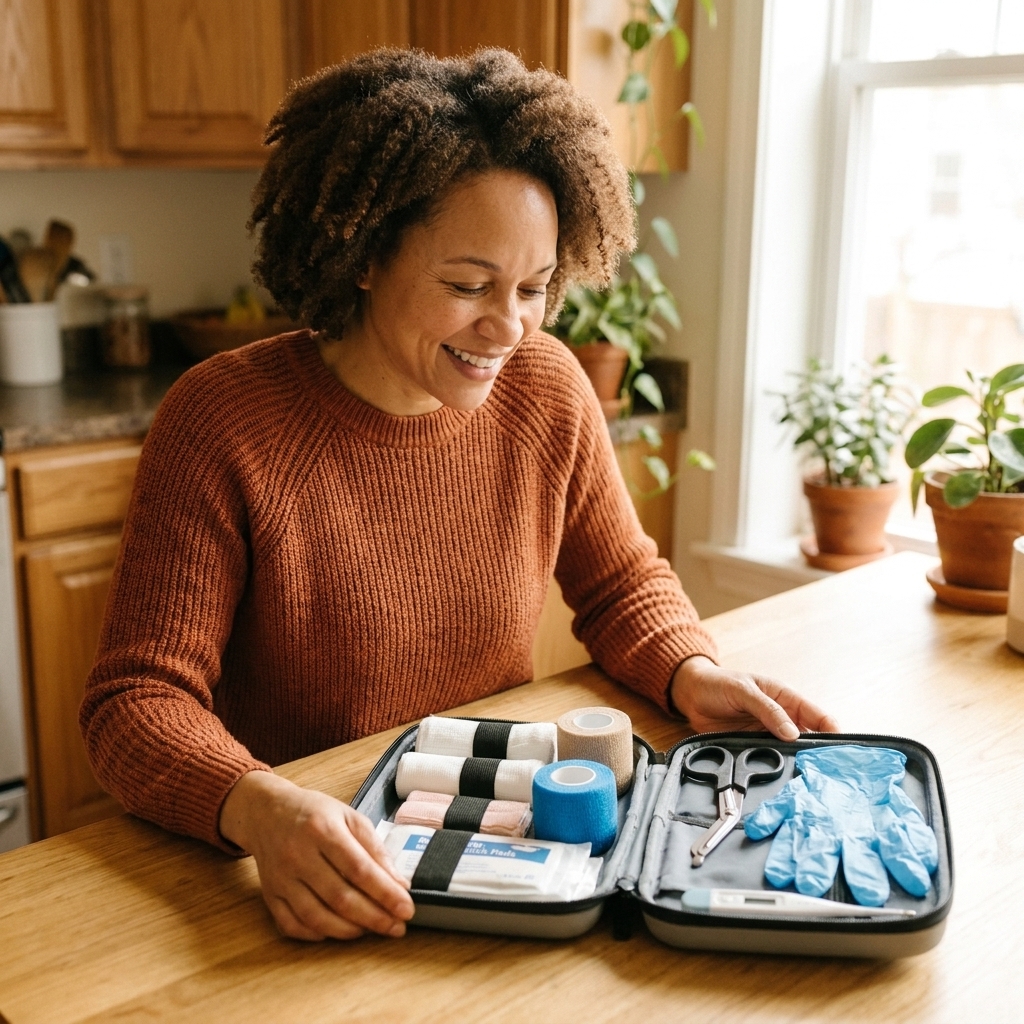
What a pet first aid kit is for
A good kit helps you handle the first few minutes of common problems like:
- Minor bleeding from a torn nail or small cut
- Sprains or limping until you can be seen
- Allergic reactions while you contact a vet for next steps
- Eye or paw irritations like dust, sand, or a foxtail encounter
- Heat stress while you cool your pet safely and get help
- Emergency transport with basic stabilization
It is not meant for diagnosing, giving leftover prescription meds, or delaying urgent care. If you are ever unsure, treat it like an emergency and call a veterinarian or an animal poison hotline.
Step 1: Choose a container
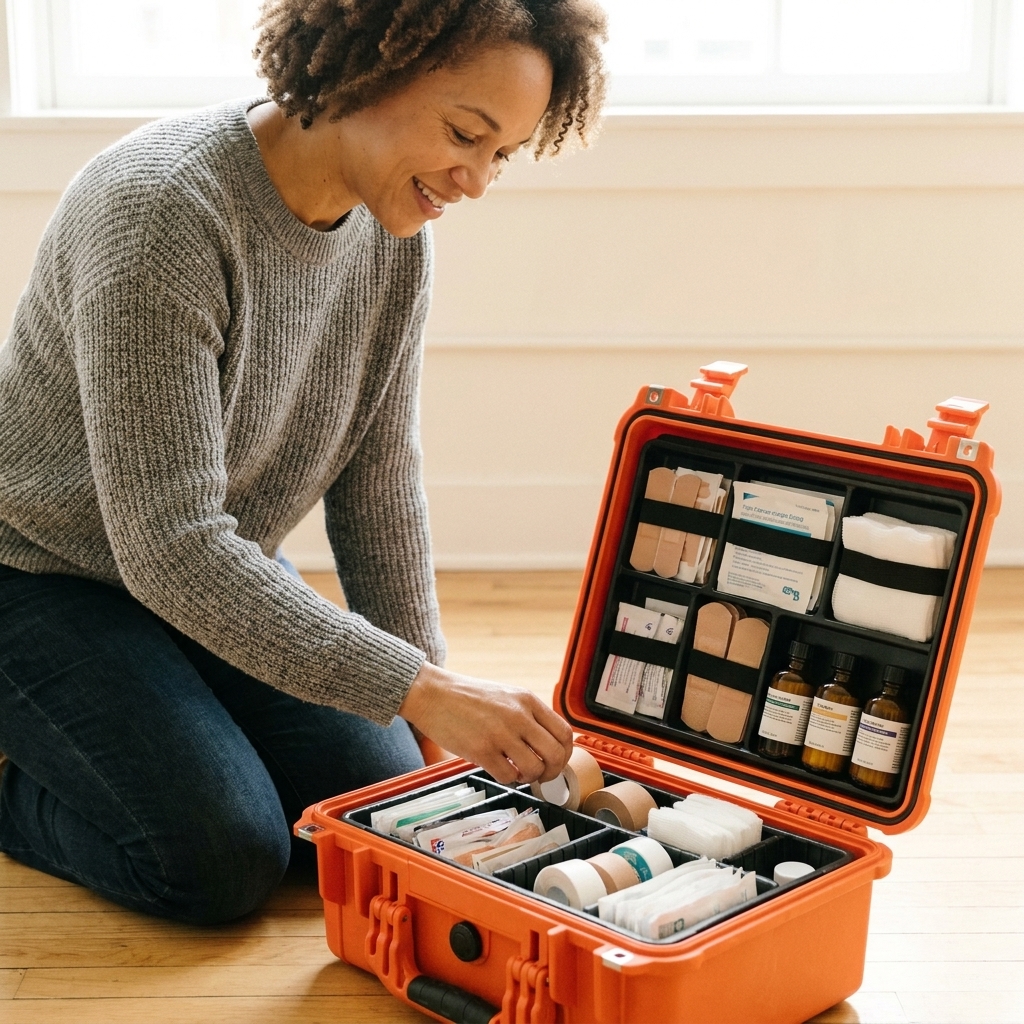
Your kit is only useful if you can grab it quickly and find what you need with shaky hands. Pick a container that matches your life.
What to look for
- Hard-sided or semi-rigid case that protects supplies from being crushed
- Water-resistant or easy to wipe clean
- Handles for fast carrying
- Internal dividers or zipper pouches so tiny items do not vanish
- Room for a second pouch for travel or hiking
If you travel often, consider a two-part system: a larger home kit and a smaller grab-and-go pouch for the car.
Step 2: Pack the essentials
These are the basics I recommend for almost every household, regardless of species.
Wound care and bandaging
- Non-stick sterile pads (for covering wounds without ripping fur off later)
- Sterile gauze pads and gauze roll (for pressure and wrapping)
- Self-adherent wrap (often called vet wrap, sticks to itself not fur)
- Medical tape (paper or cloth; helpful when wrap alone will not hold)
- Saline wound wash or sterile saline (for gentle flushing)
- Antiseptic solution such as dilute chlorhexidine (pet-safe strength)
- Disposable gloves (nitrile if possible)
Tools
- Blunt-tip scissors (for cutting bandage material and trimming around a wound)
- Tweezers (for splinters, stickers, some tick situations)
- Tick remover tool (more reliable than fingers)
- Digital thermometer plus water-based lubricant (rectal temps are most accurate for dogs and cats)
- Flashlight or headlamp (because emergencies love the dark)
Comfort and containment
- Soft muzzle (dog) or a roll of gauze to improvise one if your dog is trained to accept it
- Elizabethan collar or inflatable collar (stops licking a fresh bandage)
- Small towel and clean blanket (warmth, wrapping, safer handling)
Safety notes that matter
On antiseptics: Skip hydrogen peroxide for routine wound care. It can damage healthy tissue and slow healing. Also avoid alcohol on open wounds. If you are unsure what antiseptic concentration is safe, ask your veterinarian what they recommend for home kits and how to dilute it correctly.
On thermometers: Go slowly, use lubricant, and stop if your pet is struggling. A temperature is not worth an injury. If you cannot safely get one, call your vet and describe what you are seeing instead.
Step 3: Add upgrades by pet
This is where “ultimate” becomes truly helpful. Different species get into different trouble.
Dogs
- Styptic powder (for broken nails or quick trims that go too short)
- Bootie or paw wrap (for torn pads on hikes)
- Instant cold pack (wrap in cloth, never directly on skin)
- Slip lead (easy control if a collar breaks or you are evacuating)
Pro tip: If your dog is an “eat first, think later” type, add an extra roll of gauze and self-adherent wrap. You will use more than you expect when fur is involved.
Cats
- Extra gauze and non-stick pads (cat skin can be fragile, and bandages can do damage if removed roughly)
- Thicker towel for safer handling (a gentle “kitty burrito” can prevent injuries to you and your cat)
- Spare pill pockets or a syringe for liquid meds (only for medications prescribed by your vet)
Cat safety note: Never use essential oils on cats, and avoid topical products unless your veterinarian says they are feline-safe.
Small animals
- Gram scale (weight changes can be the earliest red flag)
- Herbivore recovery food if you have rabbits or guinea pigs (confirm with your exotics vet)
- 1 mL and 10 mL oral syringes (for feeding support or flushing, as directed)
- Small heat source like a microwavable heat disc (use with great caution and always allow space to move away)
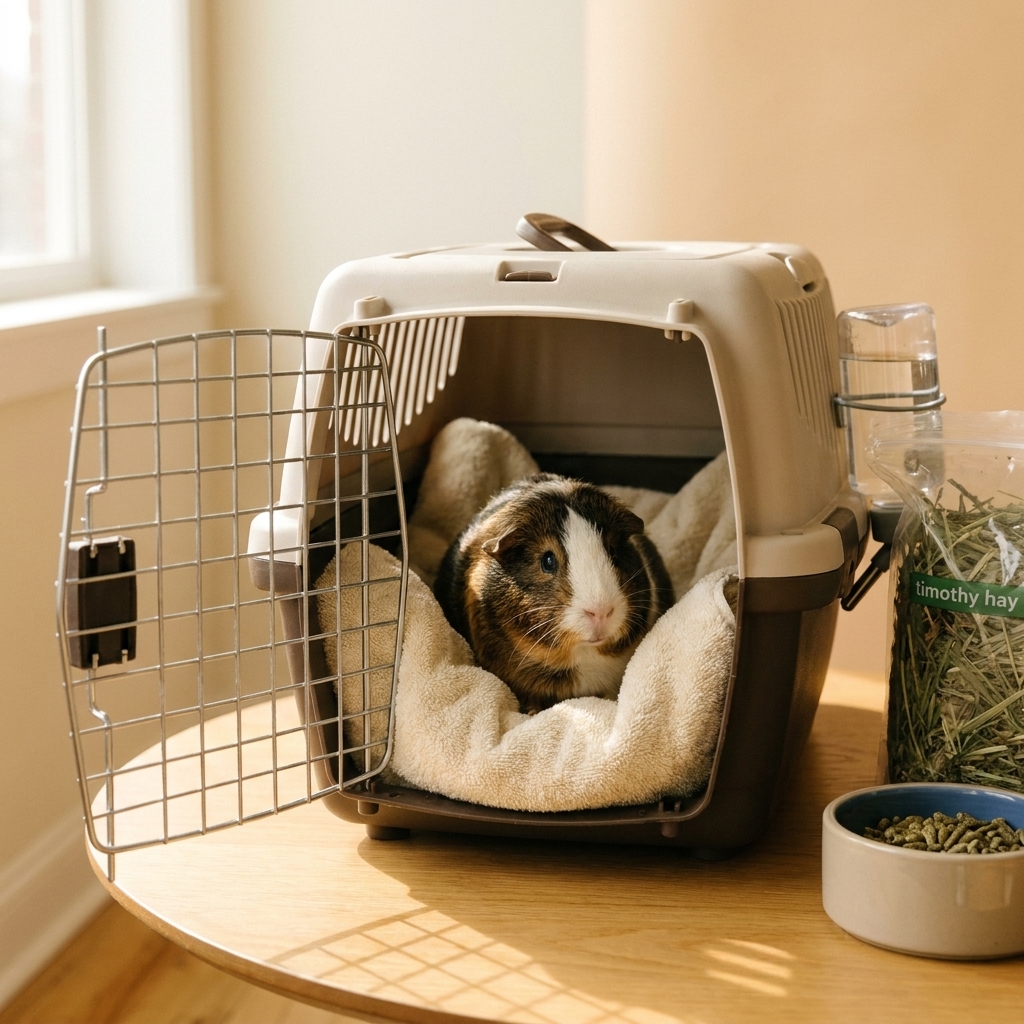
- Quick transport carrier and a spare towel
Small pet warning: Many over-the-counter “first aid” creams are not safe if licked, and small animals groom constantly. When in doubt, stick to gentle saline flushing and fast veterinary guidance.
Step 4: Pack emergency info
In clinic, the most helpful clients were not the ones with the fanciest kits. They were the ones who had accurate info ready to go.
Print and pack these
- Your primary veterinarian phone number and address
- Closest 24-hour emergency vet info
- Your pet’s medical summary (conditions, meds, allergies)
- Microchip number and company contact
- Recent photos of your pet (helpful if you get separated)
Save these in your phone too
- ASPCA Animal Poison Control Center: (888) 426-4435 (fees may apply)
- Pet Poison Helpline: (855) 764-7661 (fees may apply)
Numbers and fee policies can change, so verify these contacts once when you build your kit, then re-check during your twice-a-year refresh. If you are outside the U.S., look up your country’s trusted animal poison resource and add it to the sheet.
Step 5: Match your risks
A perfect kit is not universal. It is personal.
If you hike or camp
- Extra water and a collapsible bowl
- Longer bandage rolls and a spare self-adherent wrap
- Porcupine encounters are not DIY. Add the emergency vet location closest to your favorite trailhead.
If you live in a hot climate
- Cooling towel or a small spray bottle for dampening fur
- Thermometer becomes extra important
If you deal with winter weather
- Saline for rinsing salt and de-icer from paws
- Extra blanket for warmth during transport
If your pet has a chronic condition
Add condition-specific supplies only with your veterinarian’s input. For example, if your pet has a history of allergic reactions, your vet may recommend keeping a specific antihistamine and will tell you the correct dose for your pet’s exact weight. Never guess doses from the internet.
What to skip
- Human pain medications like ibuprofen, naproxen, and acetaminophen can be toxic to pets
- Leftover antibiotics can mask symptoms and may be unsafe or inappropriate
- Inducing vomiting at home without guidance. Do not induce vomiting unless a veterinarian or poison hotline instructs you to. Hydrogen peroxide can cause complications and is never a default home move.
- Cotton balls on wounds can leave fibers behind (use gauze instead)
- Tight bandages placed without training can cut off circulation, especially on paws and tails
Bandage basics
Bandages are one of the most useful skills in a kit and one of the easiest ways to accidentally cause trouble. A few simple rules help:
- Do not wrap over wet fur if you can avoid it. Pat dry first so the skin can breathe.
- Leave toes visible on a leg wrap when possible, so you can check for swelling.
- Check circulation often. If toes swell, feel cold, look discolored, or your pet suddenly cannot tolerate the wrap, remove it and call your vet.
- When in doubt, wrap less. A light protective wrap for transport is safer than a tight “perfect” bandage that compromises blood flow.
Use your kit in a panic
Sort by category
- Bleeding and wounds
- Tools
- Restraint and comfort
- Info and paperwork
Add a quick actions card
Keep it short and calm. Examples of helpful reminders:
- Put on gloves if bleeding is heavy
- Apply firm pressure with gauze for 5 to 10 minutes before checking
- Keep your pet warm and quiet during transport
- Call the vet early, even while you are doing first aid
Restraint safety
Even sweet pets may bite when they are scared or in pain. Approach calmly, keep your face away from their mouth, and use a towel or blanket to help control movement.
Muzzle note: Only muzzle a dog if they are breathing normally and are not vomiting. Do not muzzle a dog in respiratory distress, and be extra cautious with flat-faced breeds.
If you want training beyond the basics, consider taking a pet first aid class from a reputable organization. A little practice makes a huge difference when stress hits.
Common scenarios
A kit is most useful when you know what you will do with it. These quick playbooks are meant to stabilize, then hand off to your vet.
Torn nail
- Apply gauze and firm pressure for 5 to 10 minutes before checking.
- If it is a minor quick bleed, use a tiny amount of styptic powder as directed on the label.
- Keep your dog quiet and prevent licking.
- Go now if bleeding will not stop, the nail is partially torn off, or your pet will not bear weight.
Minor paw cut
- Rinse with sterile saline to remove grit.
- Cover with a non-stick pad, then gauze, then self-adherent wrap, snug but not tight.
- Check toes for swelling every 15 to 30 minutes.
- Go now for deep cuts, heavy bleeding, limping that worsens, or suspected puncture wounds.
Suspected heat stress
- Move to shade or air conditioning immediately.
- Offer small amounts of cool water if your pet is alert.
- Use a cooling towel or dampen the coat with cool water. Avoid ice baths.
- Go now if there is collapse, vomiting, confusion, dark red or pale gums, or labored breathing.
Storage and refresh
Set a recurring reminder twice a year to do a fast kit refresh.
- Check expiration dates on saline, antiseptics, and any medications prescribed by your vet
- Replace opened sterile items you used and did not restock
- Inspect tape and wraps for heat damage if stored in a car
- Update weight for any dosing instructions your veterinarian provided
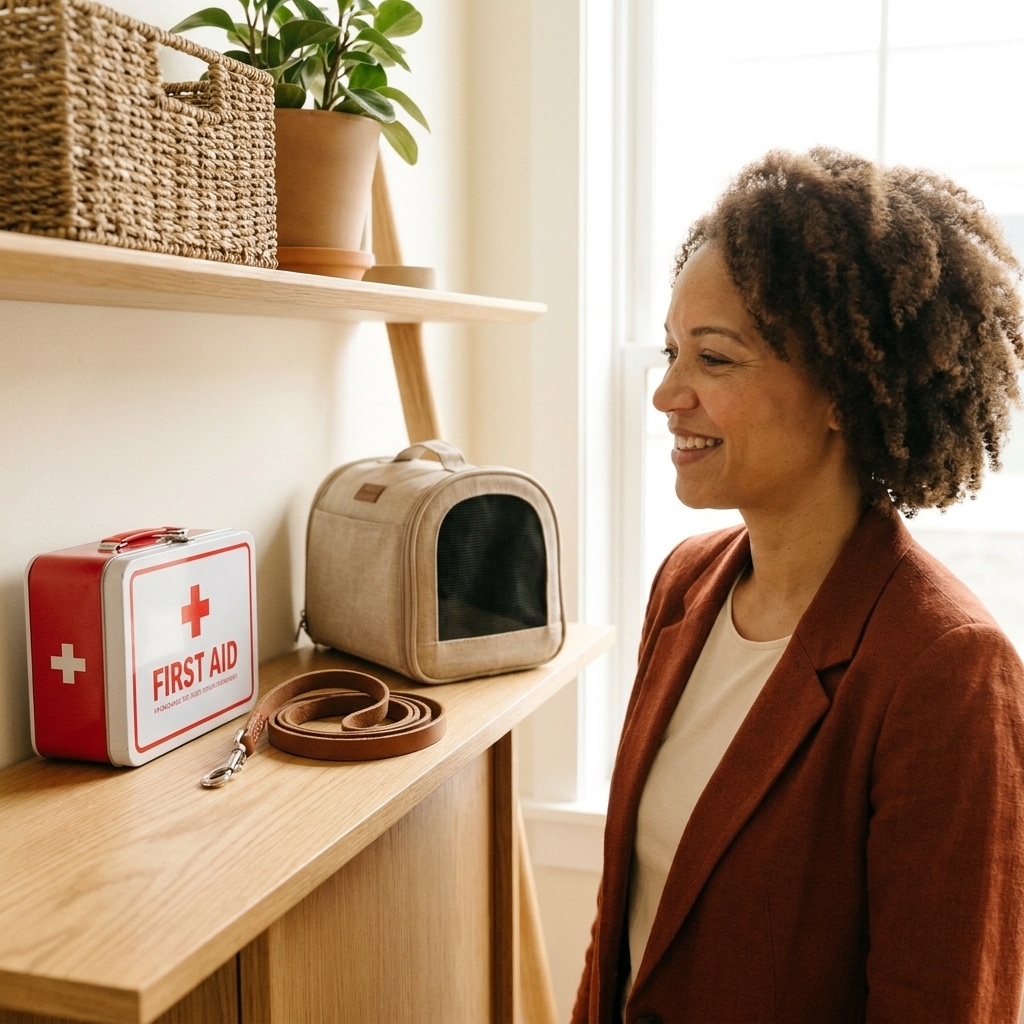
Where to keep it: Store your main kit somewhere you can reach in under 10 seconds, like a hall closet or mudroom shelf. If you have curious pets, keep it secured so nobody turns gauze into confetti.
When to go now
First aid is about stabilizing, not stalling. Seek urgent veterinary care right away for:
- Difficulty breathing, repeated choking, or blue or pale gums
- Uncontrolled bleeding or a wound that gapes open
- Suspected broken bones, severe limping, or inability to stand
- Seizures, collapse, or extreme lethargy
- Bloated abdomen, repeated unproductive retching in dogs, or obvious pain
- Eye injuries (especially squinting, pawing, or a cloudy eye)
- Any toxin exposure or suspected ingestion of medications, chocolate, xylitol, lilies, rodent bait, or antifreeze
- For small animals, especially rabbits and guinea pigs: not eating, very small droppings, or no droppings, even for a short time
Quick checklist
If you want the simplest path, start with this baseline and then add species-specific items.
- Non-stick pads, gauze pads, gauze roll
- Self-adherent wrap and medical tape
- Saline wash and pet-safe antiseptic (vet-approved dilution)
- Nitrile gloves
- Blunt-tip scissors, tweezers, tick tool
- Digital thermometer and lubricant
- Flashlight or headlamp
- Towel, small blanket
- E-collar (or inflatable collar)
- Printed emergency contacts and pet medical info
If you build this today, you are already doing something powerful: planning for your pet’s worst day with your pet’s best interests in mind.
FAQ
How much should a DIY pet first aid kit cost?
You can build a solid starter kit for many households for the cost of a couple bags of premium kibble. The price depends on how many species you are packing for and whether you already own tools like scissors or a thermometer. My advice is to prioritize quality bandaging supplies and a good container, then expand over time.
Is it okay to keep a kit in the car?
Yes, with a caveat. Heat and freezing temps can damage adhesives, liquids, and some medications. If you keep a car kit, store bandaging supplies and tools there, but keep temperature-sensitive items in your home kit and grab them before road trips when possible.
Can I use human first aid supplies on pets?
Many basic items are the same, like gauze, non-stick pads, and gloves. The biggest problems come from human medications and topical products. When in doubt, stick to gentle cleaning, pressure, and protection, then call your veterinarian.
Should I include a muzzle?
For dogs, yes, as long as you choose an appropriate size and practice calmly when your dog is healthy. Even sweet dogs may bite when they are scared or in pain. If your dog is vomiting or struggling to breathe, skip the muzzle and focus on calm handling and fast transport. For cats, focus more on towel handling and safe transport.