
Dental disease is one of those sneaky problems I saw every day in clinic, even in dogs whose families swore they were doing everything right. The tough part is that periodontal disease starts quietly under the gumline, long before you notice bad breath or yellow buildup.
The good news: at-home dental care does not have to be a wrestling match or a perfect, polished routine. If you can build a calm, consistent habit and use the right tools, you can make a real difference in your dog’s comfort and long-term health.
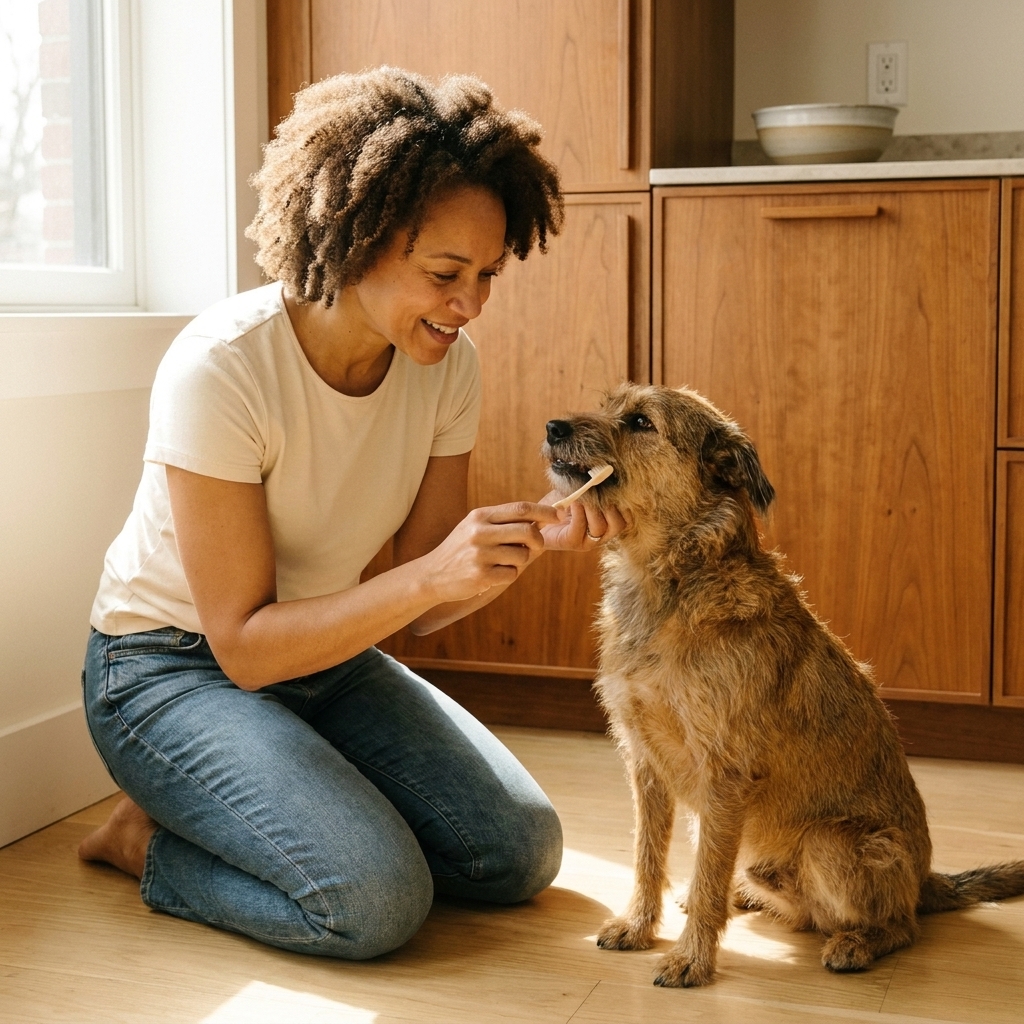
Why home dental care matters
A large percentage of adult dogs have some level of periodontal disease. It begins when plaque (a soft, sticky bacterial film) builds up on teeth. If plaque is not removed, it can harden into tartar (mineralized buildup). The gums become inflamed (gingivitis), and over time infection can damage the tissues and bone that hold teeth in place.
Keeping your dog’s mouth healthier can help with:
- Less pain (dogs are experts at hiding oral pain)
- Fresher breath
- Lower risk of tooth loss
- Fewer expensive dental procedures over time
Brushing is the gold standard because it physically disrupts plaque at the gumline where disease starts. Even brushing just the outer surfaces is a meaningful minimum.
What you need (and what to avoid)
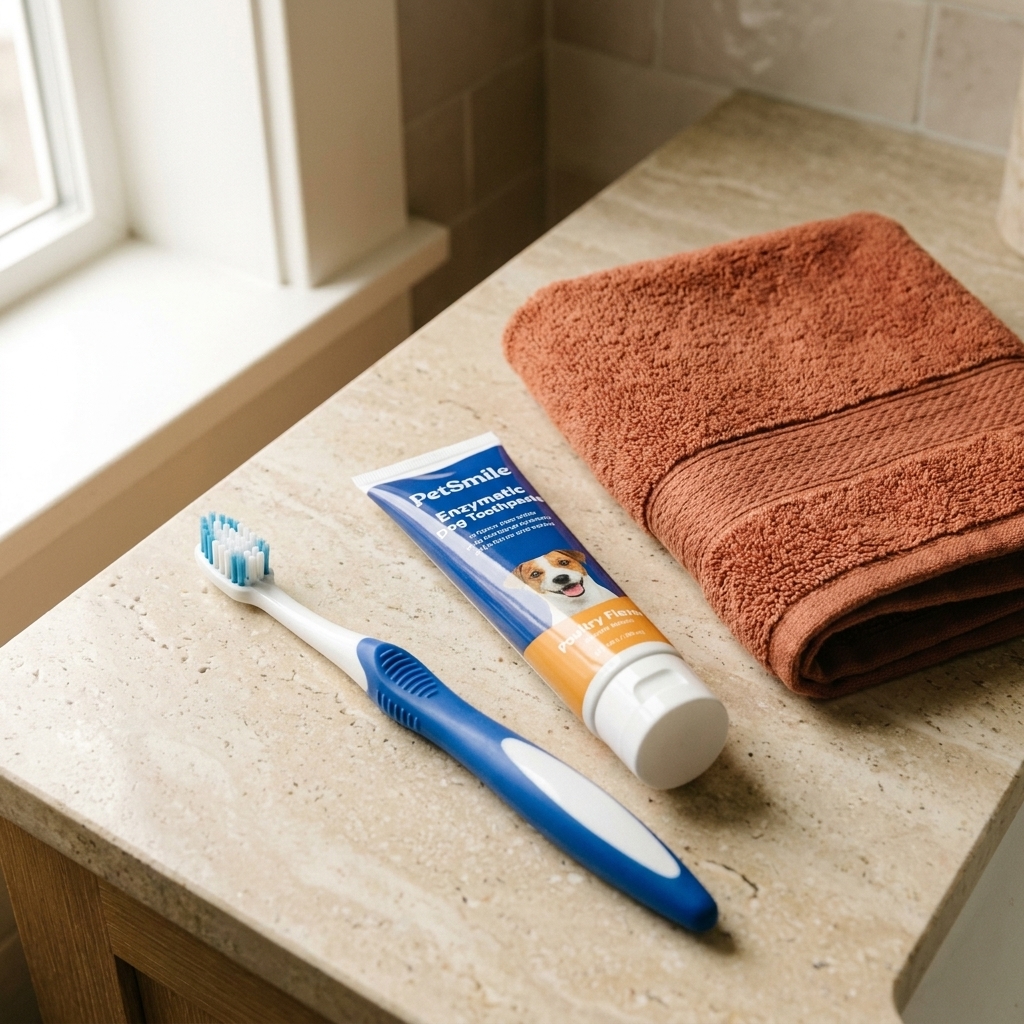
Best tools for brushing
- Dog toothbrush (angled head or finger brush). A soft-bristled human kids toothbrush can work in a pinch.
- Dog toothpaste only. Poultry, beef, or peanut-butter flavors can be a huge help for picky pups.
- Good lighting and a non-slip surface (bath mat, rug).
- Tasty, tiny rewards for after each mini-session.
Avoid these common mistakes
- Human toothpaste: avoid it entirely. Some formulas may contain xylitol (toxic to dogs), and many contain fluoride and foaming agents meant to be spit out.
- Homemade pastes (baking soda or peroxide): not recommended unless your veterinarian directs you. Hydrogen peroxide can irritate oral tissues, and DIY mixtures can be unpleasant and easy to swallow in excess.
- Hard objects like antlers, hooves, or very hard nylon chews: a lot of slab fractures I’ve seen came from “dental” chewing gone wrong.
Before you start: a quick mouth check
If your dog’s mouth is already painful, brushing can backfire. Take 20 seconds to look and sniff.
Pause and call your vet for guidance if you notice:
- Bleeding gums, significant redness, or swollen gum tissue
- A broken tooth, loose tooth, or a tooth that looks “short” or worn down
- One-sided chewing or dropping food
- Pawing at the mouth or yelping when the face is touched
- Strong foul odor that came on suddenly
- A lump, growth, or dark spot on the gums
Many dogs need a professional dental cleaning first to get back to a comfortable baseline. Home care then helps maintain those results.
How to brush your dog’s teeth
Think of this as a slow build, not a one-and-done event. Your goal is calm cooperation, even if you only brush a few teeth at first.
Step 1: Pick the right time and place
Choose a low-energy moment, like after a walk or dinner. Sit on the floor beside your dog or have them on a stable surface if they are small. Keep your voice relaxed and your movements predictable.
Step 2: Let your dog taste the toothpaste
Put a tiny dab on your finger and let them lick it. Do this for a day or two if needed. This is how you turn “What is this?” into “Oh, it is the chicken stuff.”
Step 3: Get comfortable touching the lips and gums
Gently lift the lip for one second, then reward. Repeat. If your dog leans away, go slower and shorten the touch.
Step 4: Start with a finger brush or wrapped gauze
For many dogs, a finger brush feels less intimidating. You can also wrap a piece of clean gauze around your finger and gently rub the outer surfaces of the teeth.
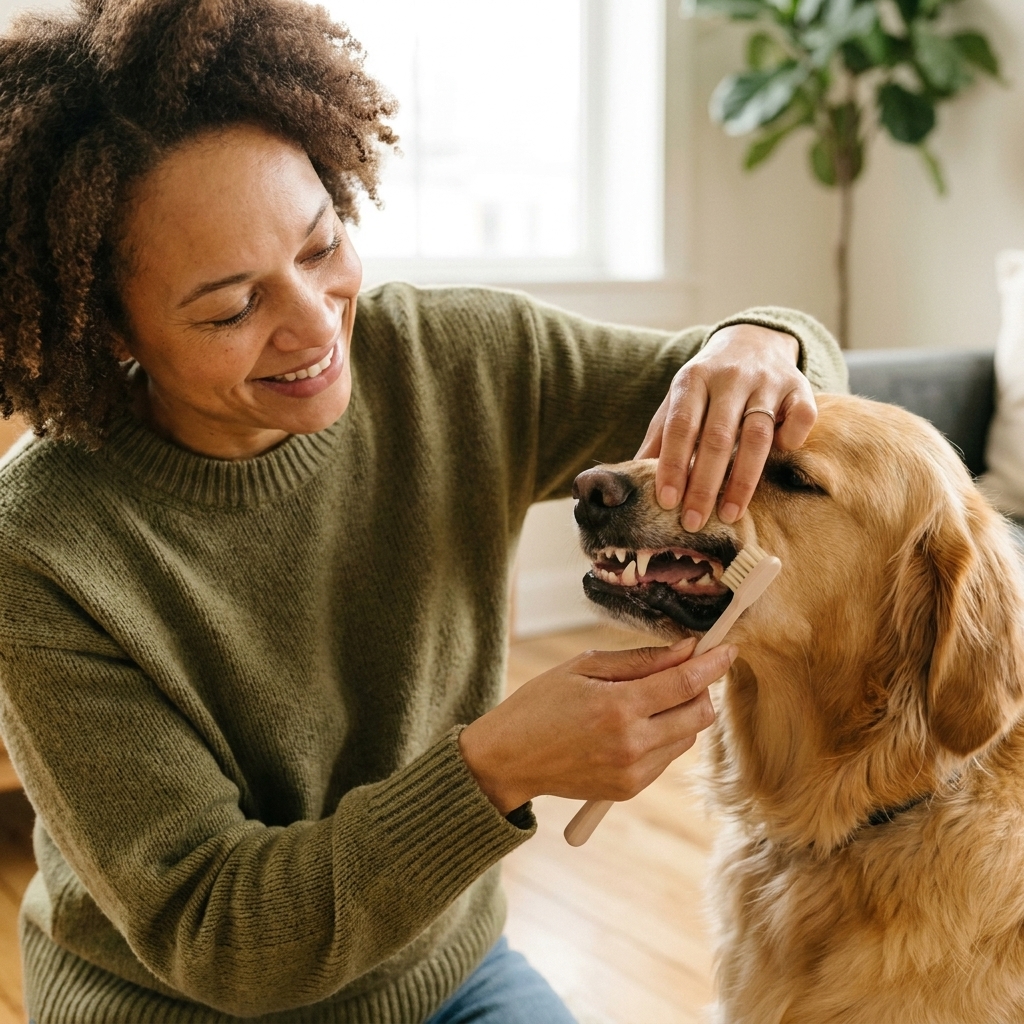
Step 5: Brush the outside surfaces first
Most plaque builds up on the cheek side (outer surface) of the teeth. The tongue side is nice if you can get it, but it is not where I start with beginners.
- Angle the bristles about 45 degrees toward the gumline.
- Use small circles or gentle back-and-forth motions.
- Focus on the back molars and upper canines first. Those areas collect a lot of tartar.
Step 6: Keep sessions short
For week one, 10 to 20 seconds is a win. End before your dog gets fed up. Praise, reward, and move on.
Step 7: Build up to a full mouth routine
As your dog gets comfortable, aim for 30 to 60 seconds per side. If you can brush all outer surfaces daily, you are doing fantastic.
How often should you brush?
Daily is ideal because plaque can begin to mineralize into tartar within 24 to 48 hours, and the sooner you disrupt it, the better. If daily feels impossible, aim for at least 3 to 4 times per week, and keep it consistent.
If you are just starting, it is completely fine to do a “training week” where you only practice toothpaste licking and lip lifts. Consistency beats intensity.
If your dog hates brushing
“My dog clamps their mouth shut.”
Start without the toothbrush. Reward for allowing a lip lift. Then reward for a quick gum rub with your finger. Many dogs need several short sessions before they accept a brush.
“My dog tries to chew the brush.”
Totally normal. Try a longer-handled brush, approach from the side, and keep your strokes tiny and quick. Sometimes switching to a finger brush for a week helps.
“My dog gets stressed or growls.”
Stop and reset. Stress signals mean you are moving too fast or your dog may be painful. Go back to easier steps and check in with your veterinarian if discomfort is possible.
“My dog’s gums bleed a little when I brush.”
Mild bleeding can happen with gingivitis at first. If it improves over 7 to 10 days of gentle brushing, that is encouraging. If bleeding is heavy, persists, or your dog seems sore, schedule a vet exam.
Other options that help
Brushing is best, but life happens. These options can support oral health, especially when used alongside brushing.
Veterinary oral gels and wipes
Dental wipes can be easier for dogs that are mouth-shy. Oral gels can help reduce bacterial load, but they still work best when paired with some physical rubbing at the gumline.
Dental chews
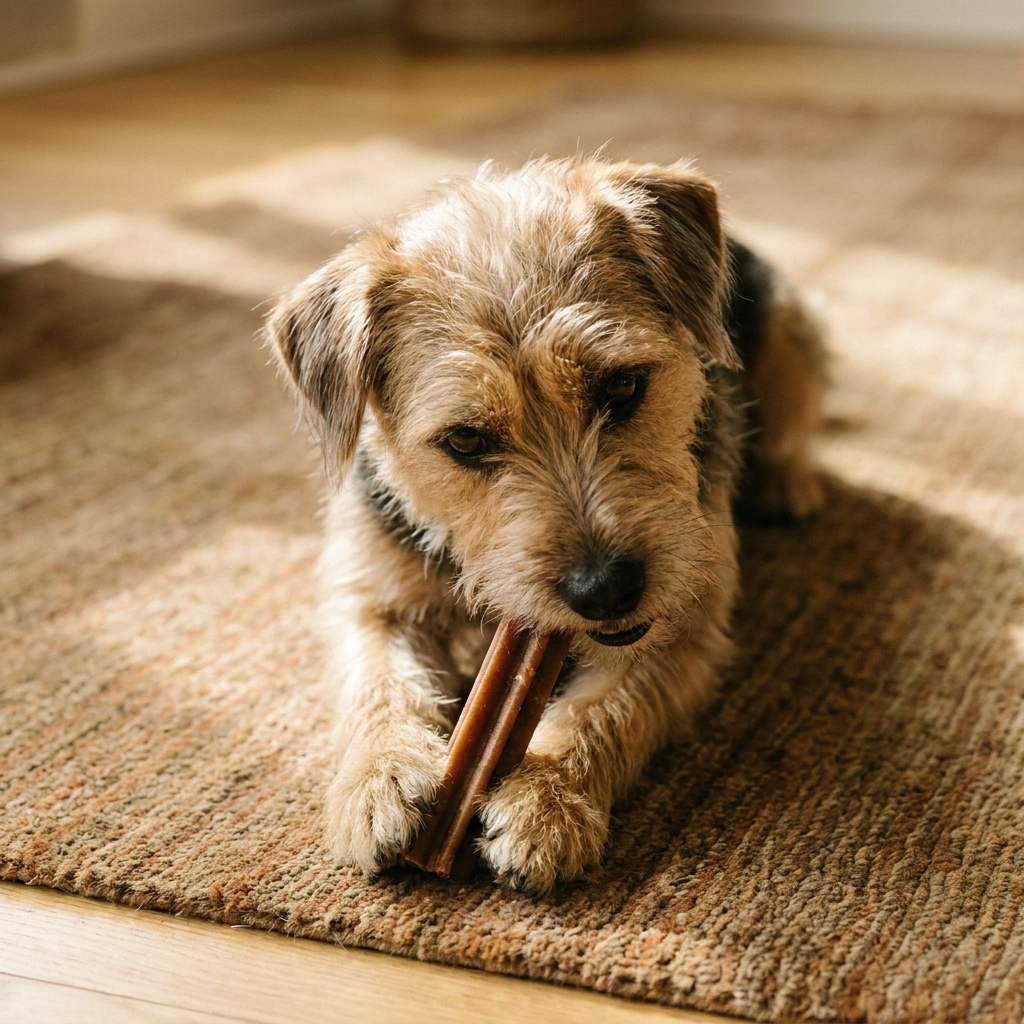
Choose products designed to reduce plaque and tartar, and match the chew size to your dog. Looking for the VOHC seal (Veterinary Oral Health Council) can help you sort through which products have evidence behind them. A good rule: if you cannot indent the chew with your fingernail, it may be hard enough to risk tooth fractures.
Dental diets
Some prescription or veterinary-recommended diets have kibble designed to mechanically clean teeth as the dog bites. They are not a cure-all, but they can be a helpful layer for dogs prone to tartar. The VOHC list can be useful here too.
Water additives
Water additives can be a nice bonus for breath and plaque control, but they do not replace brushing. If your dog suddenly drinks less because of a new additive, stop and try a different option.
Scaling tartar at home
I know it is tempting when you see a big chunk of tartar on a canine tooth. But using dental scalers at home is risky for two reasons:
- You can injure the gums or enamel, especially if your dog jerks their head.
- Most disease lives under the gumline, where you cannot safely clean at home.
If tartar is visible, a professional dental cleaning is often the safest, most effective next step. Once the teeth are clean and polished, home care is much easier and more comfortable for your dog.
When to schedule a vet dental
Home care is prevention and maintenance. A veterinary dental cleaning is the reset button when tartar and infection are already present.
Talk to your vet about an exam and dental estimate if you notice:
- Brown or yellow tartar buildup
- Persistent bad breath
- Red, puffy, or receding gums
- Drooling more than usual
- Reluctance to chew, especially crunchy food or toys
- Facial swelling or a draining tract near the mouth
Professional cleanings are typically done under anesthesia so your vet team can safely clean under the gumline, take dental X-rays, and address painful problems like fractures or infected roots. If anesthesia worries you, ask about the safety steps your clinic uses, like a pre-anesthetic exam and recommended bloodwork, so you understand the plan for your individual dog.
A simple 2-week starter plan
- Days 1 to 3: Toothpaste taste test only, once daily.
- Days 4 to 6: Lip lift, then toothpaste lick, reward.
- Days 7 to 10: Finger rub on outer teeth for 10 seconds total.
- Days 11 to 14: Toothbrush introduction, brush 3 to 5 outer teeth, reward.
After two weeks, gradually increase how many teeth you brush, not how hard you brush. Gentle and consistent wins.
FAQ
Do I need to rinse my dog’s mouth after brushing?
No. Dog toothpaste is designed to be swallowed. Just wipe away any excess if your dog has a lot of foam or drool.
My dog licks the toothpaste and walks away. Is that still helpful?
It is a great start for training, but the plaque removal comes from the brushing motion at the gumline. Use the licking as your “gateway” to quick rubs and then brushing.
Can puppies have their teeth brushed?
Yes, and it is the best time to teach the routine. Use a very soft brush and keep sessions tiny. Focus on creating a positive experience more than perfect technique.
What if my dog has missing teeth or is a senior?
Many seniors do great with brushing, especially after a veterinary dental has addressed painful issues. Be gentle around sensitive spots and prioritize comfort. If your dog has advanced dental disease, ask your vet for a plan before you start brushing.
The takeaway
You do not need to be perfect to protect your dog’s teeth. Start small, stay kind, and build a routine your dog can tolerate. A few seconds of brushing today can mean a more comfortable, healthier mouth years from now.